Crafted cannabis formulas for stress, pain, sleep and recovery.
Shop Now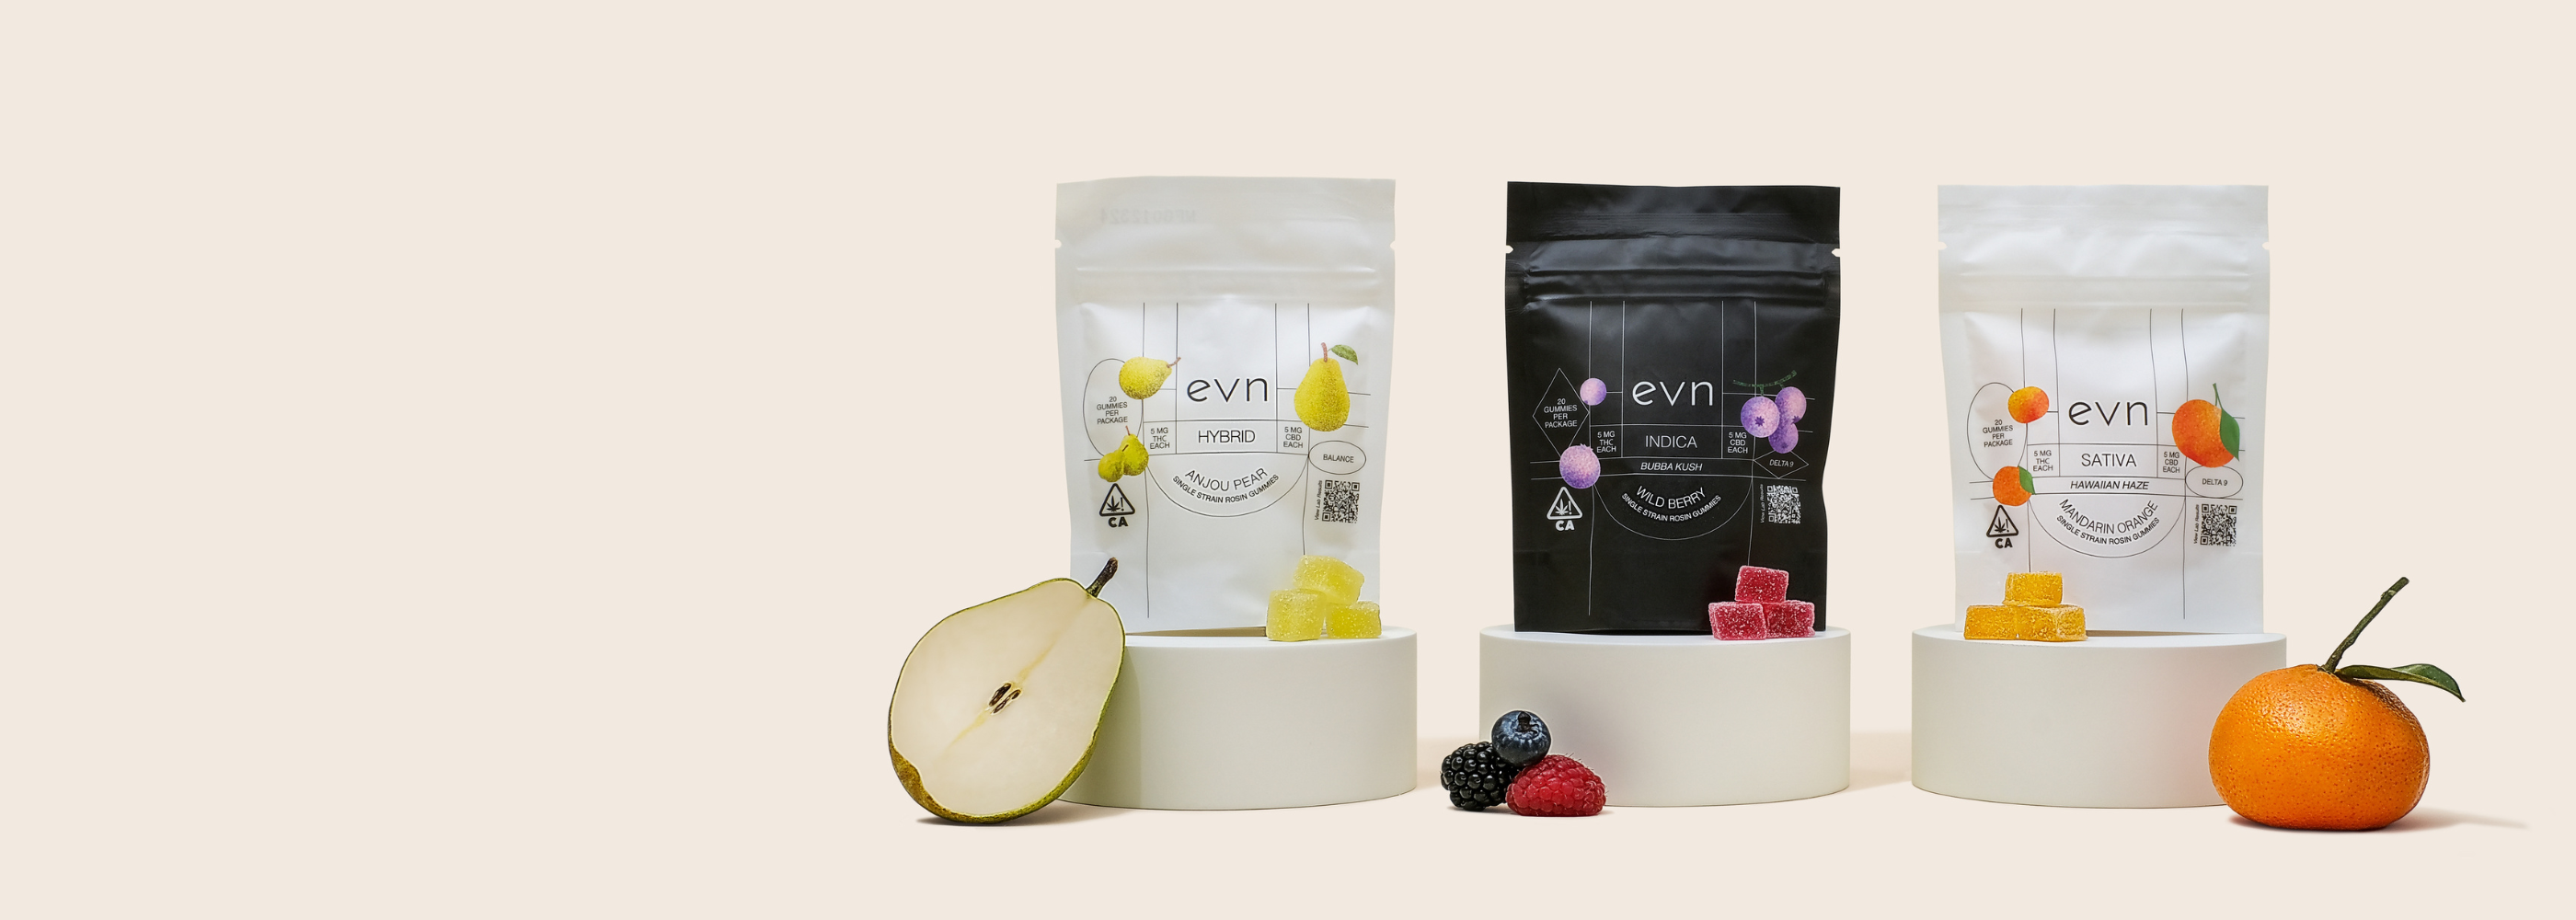


Best Sellers
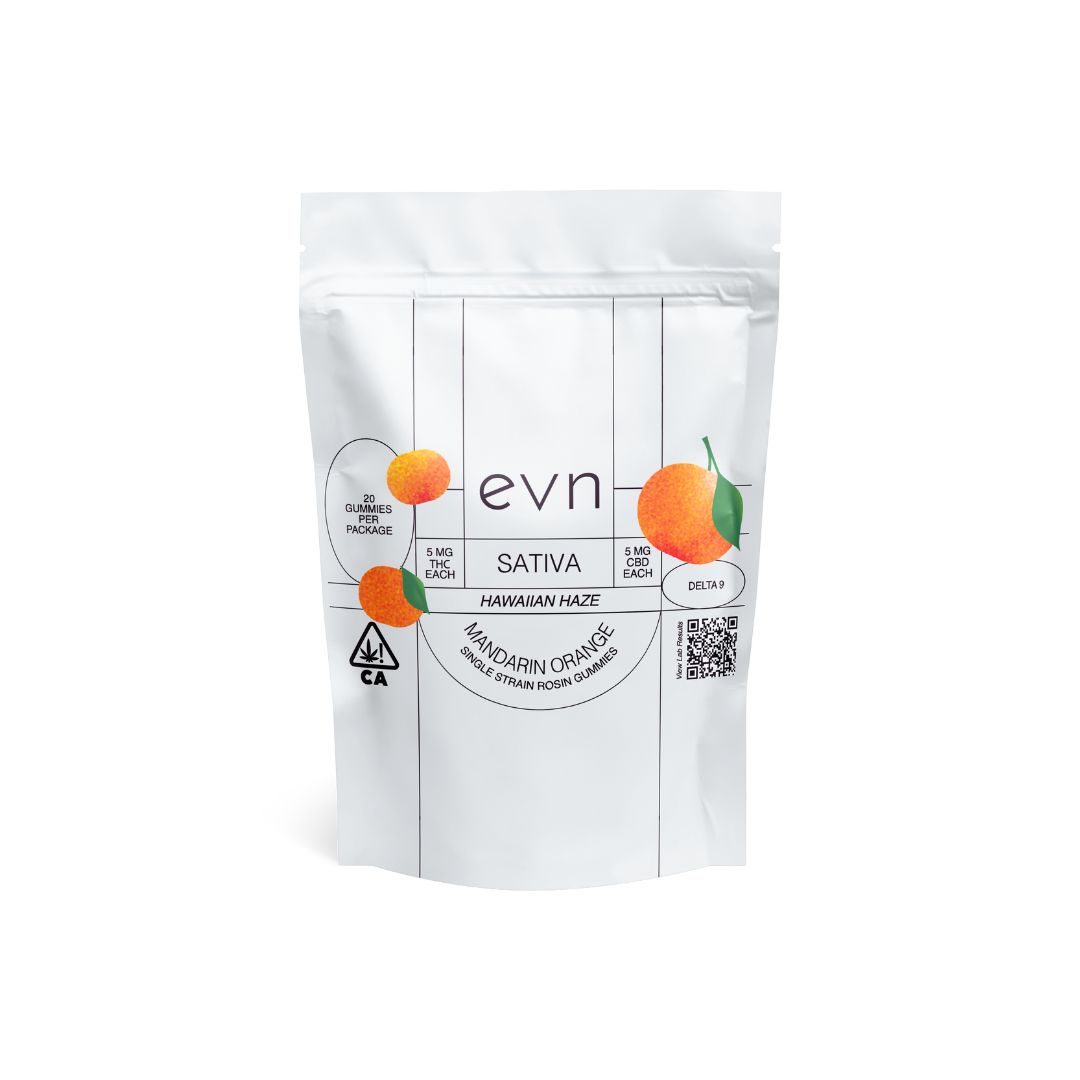
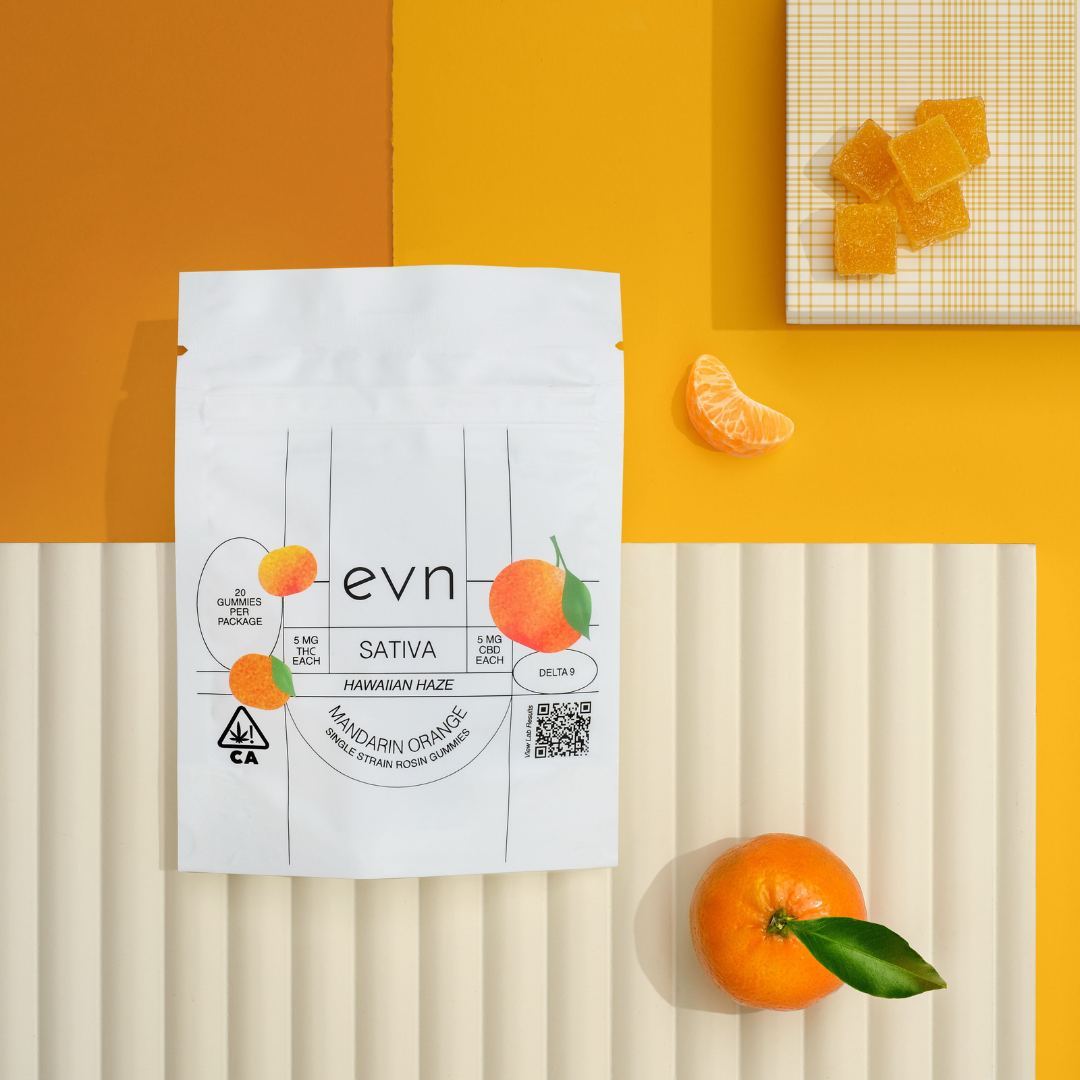
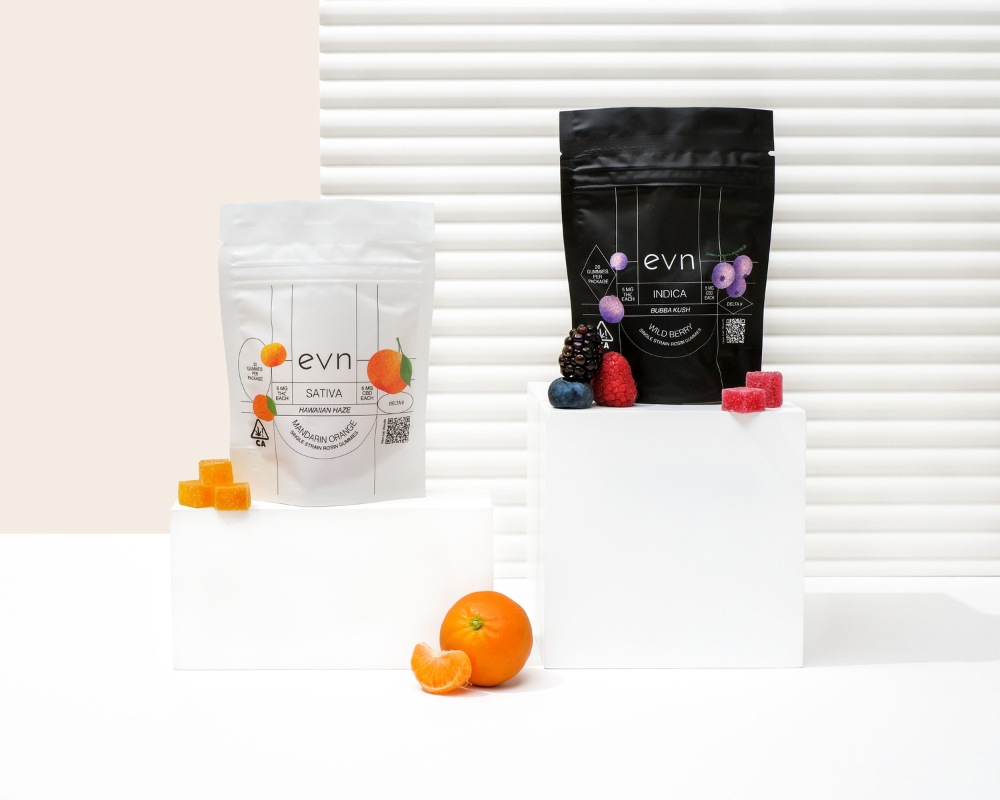
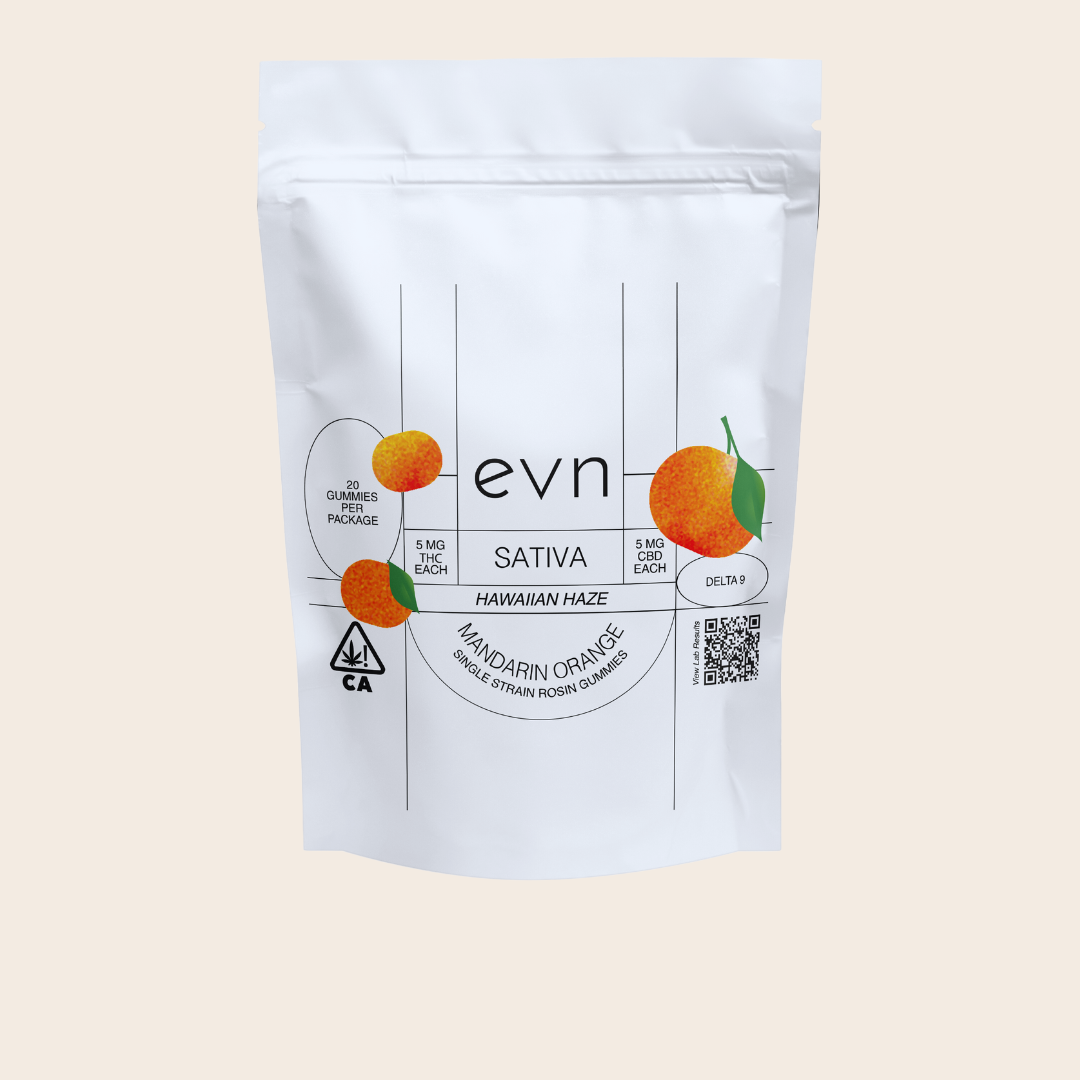
Sativa Gummies
Sale price$35.00
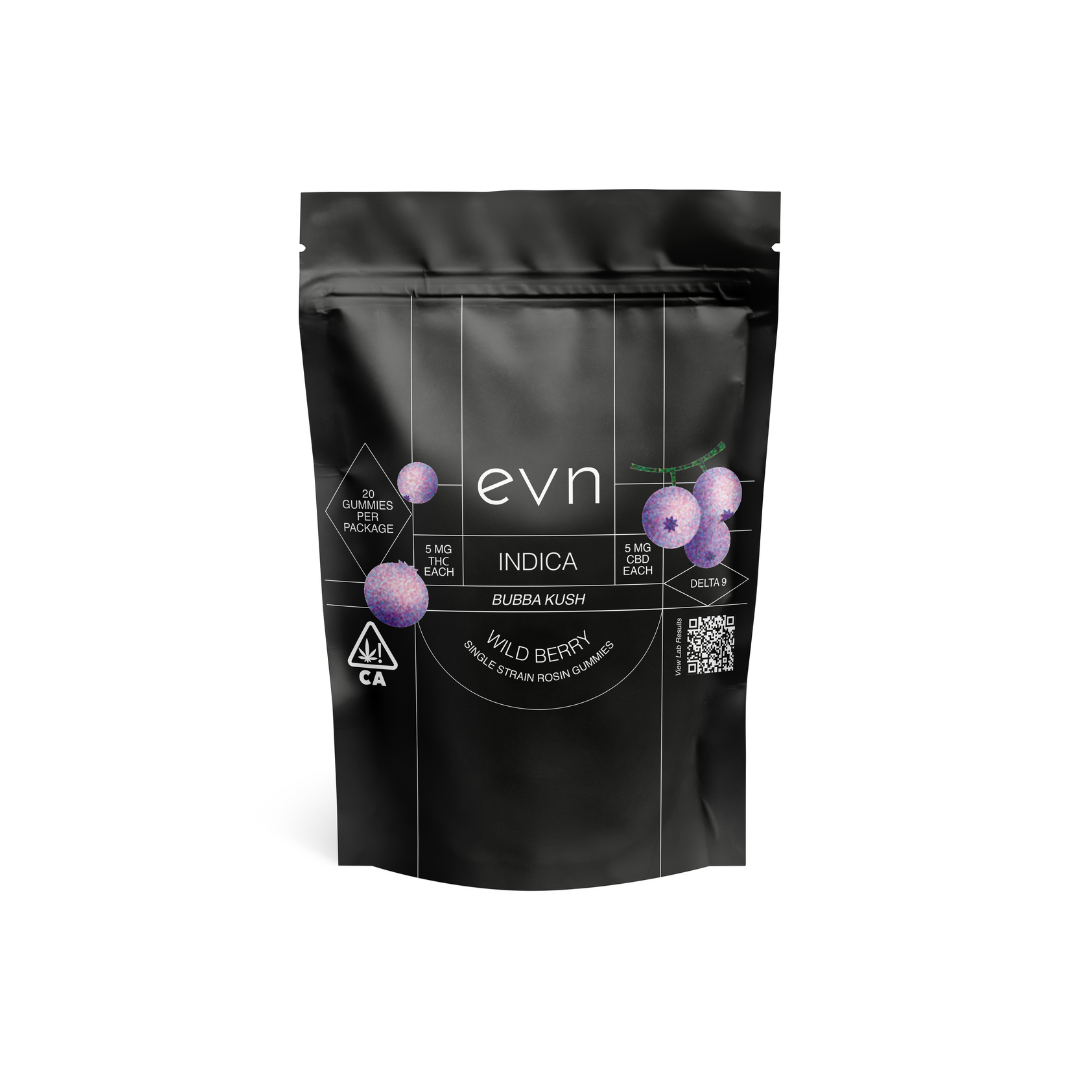
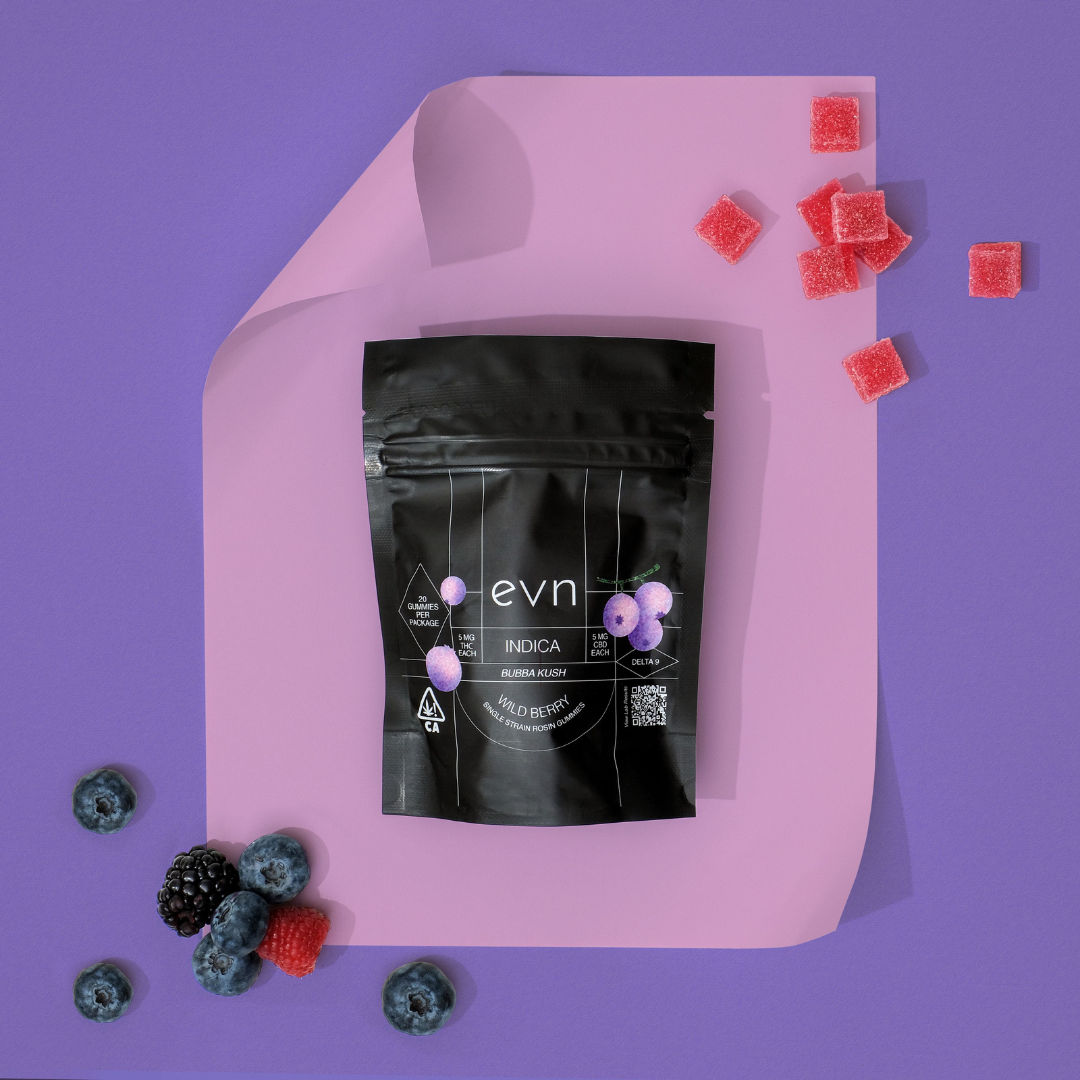
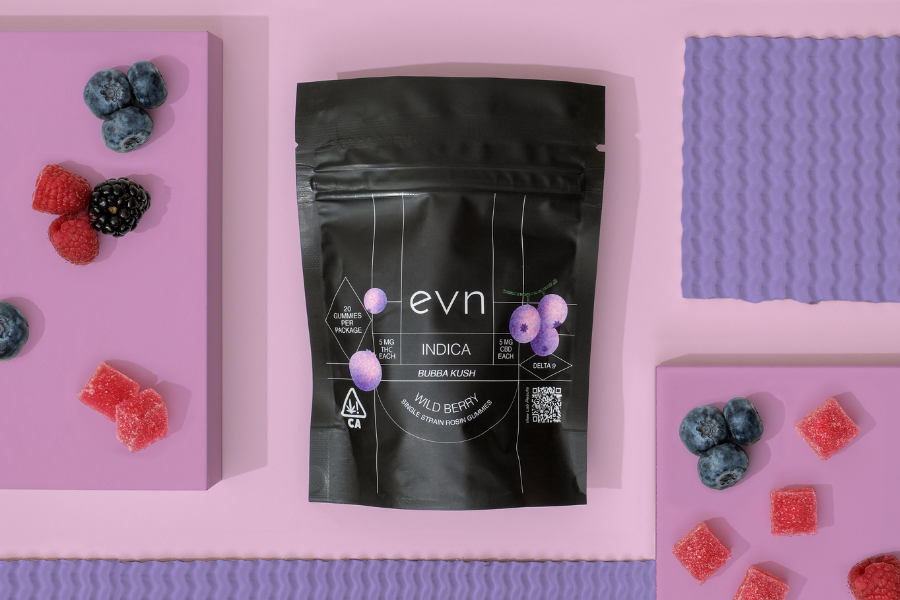
Indica Gummies
Sale price$35.00
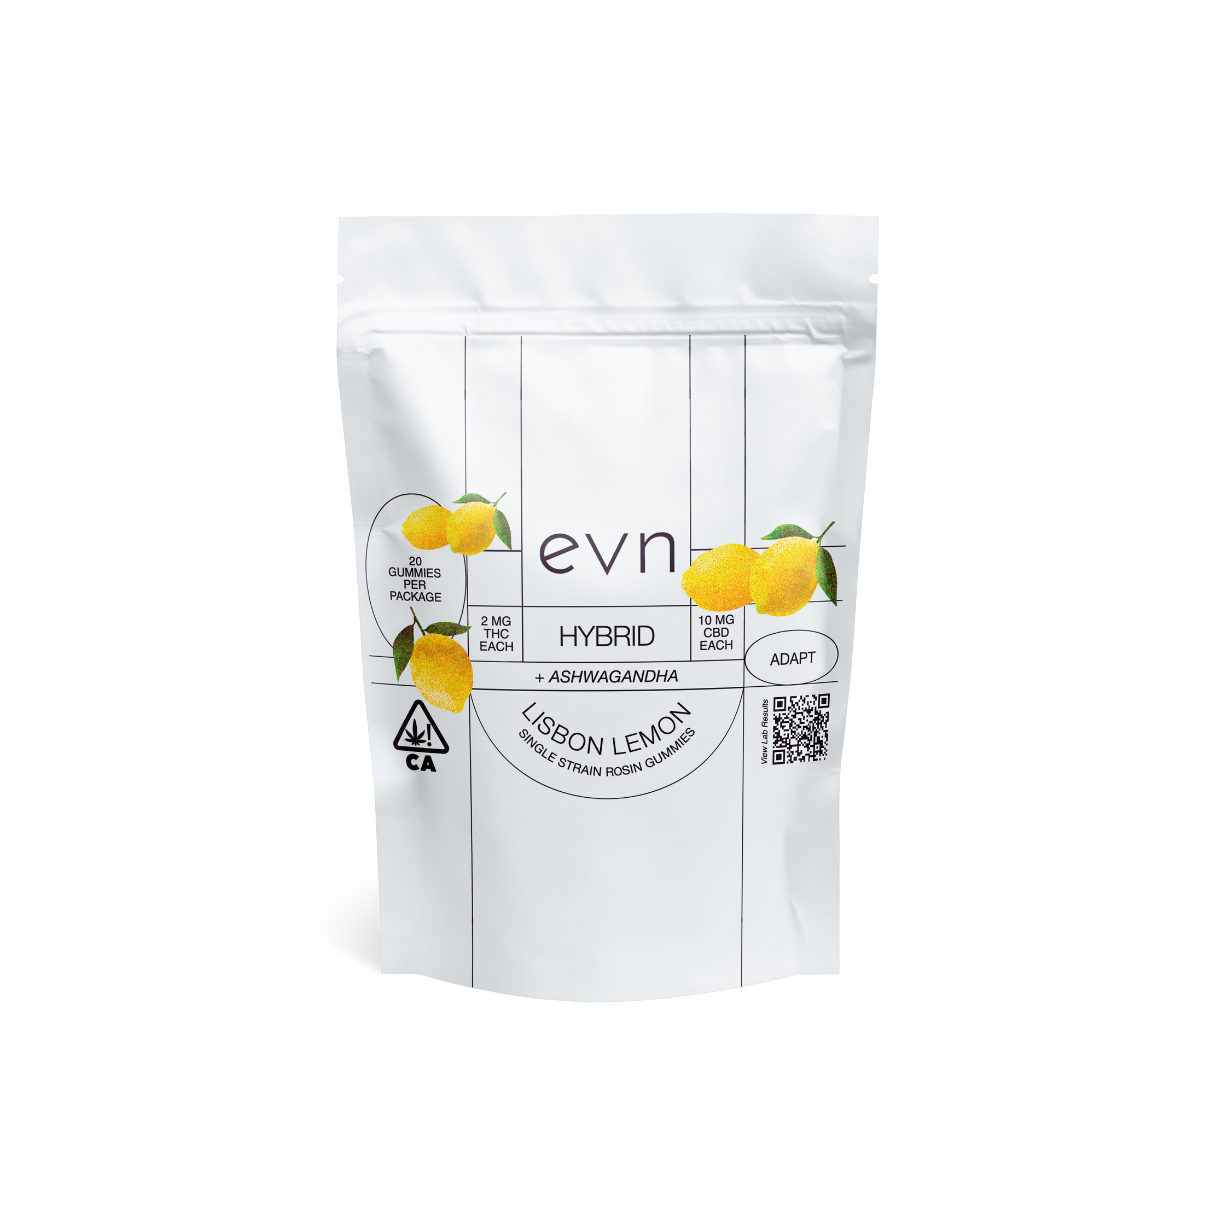

Ashwagandha + THC + CBD Gummies - Adapt
Sale price$35.00
Limited drop
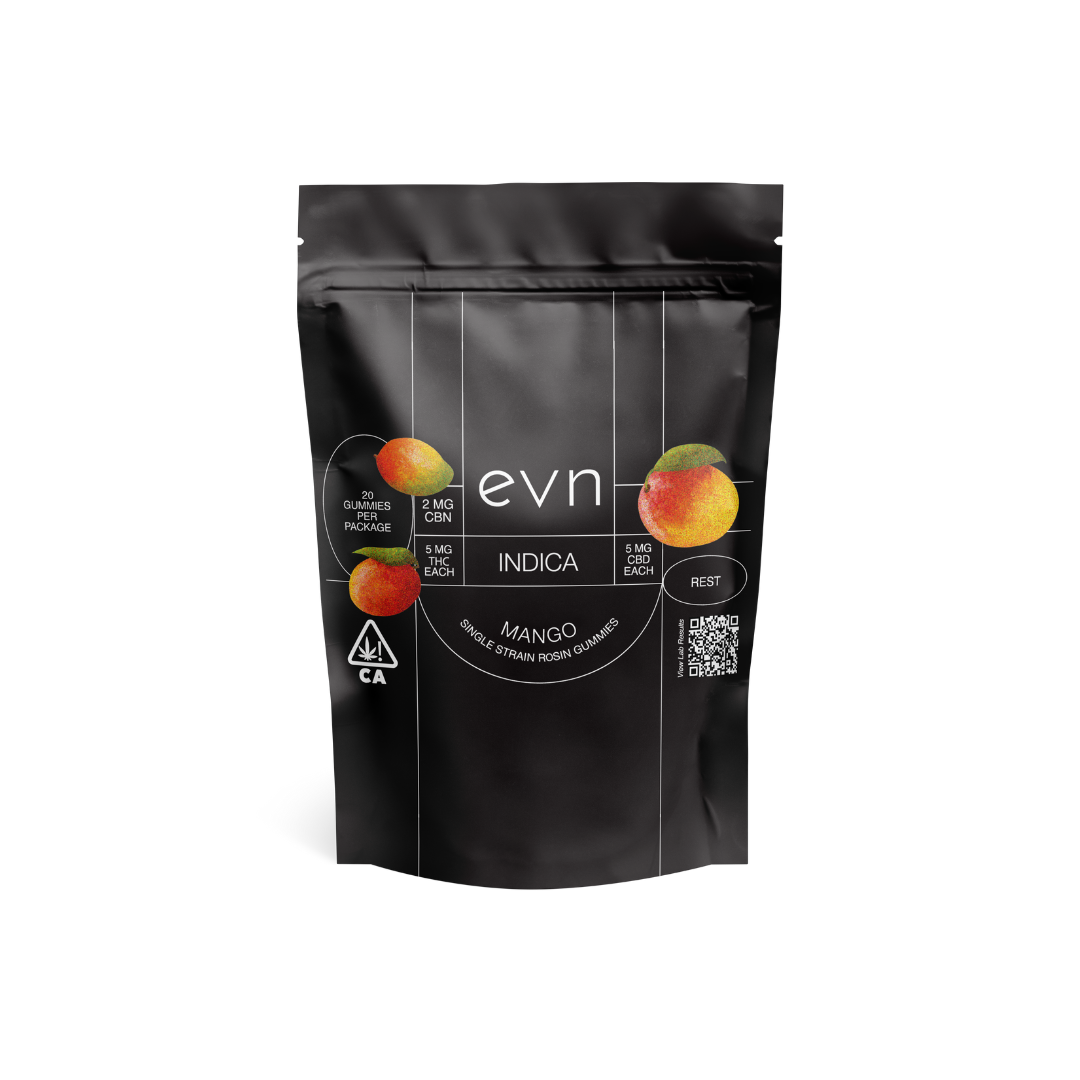
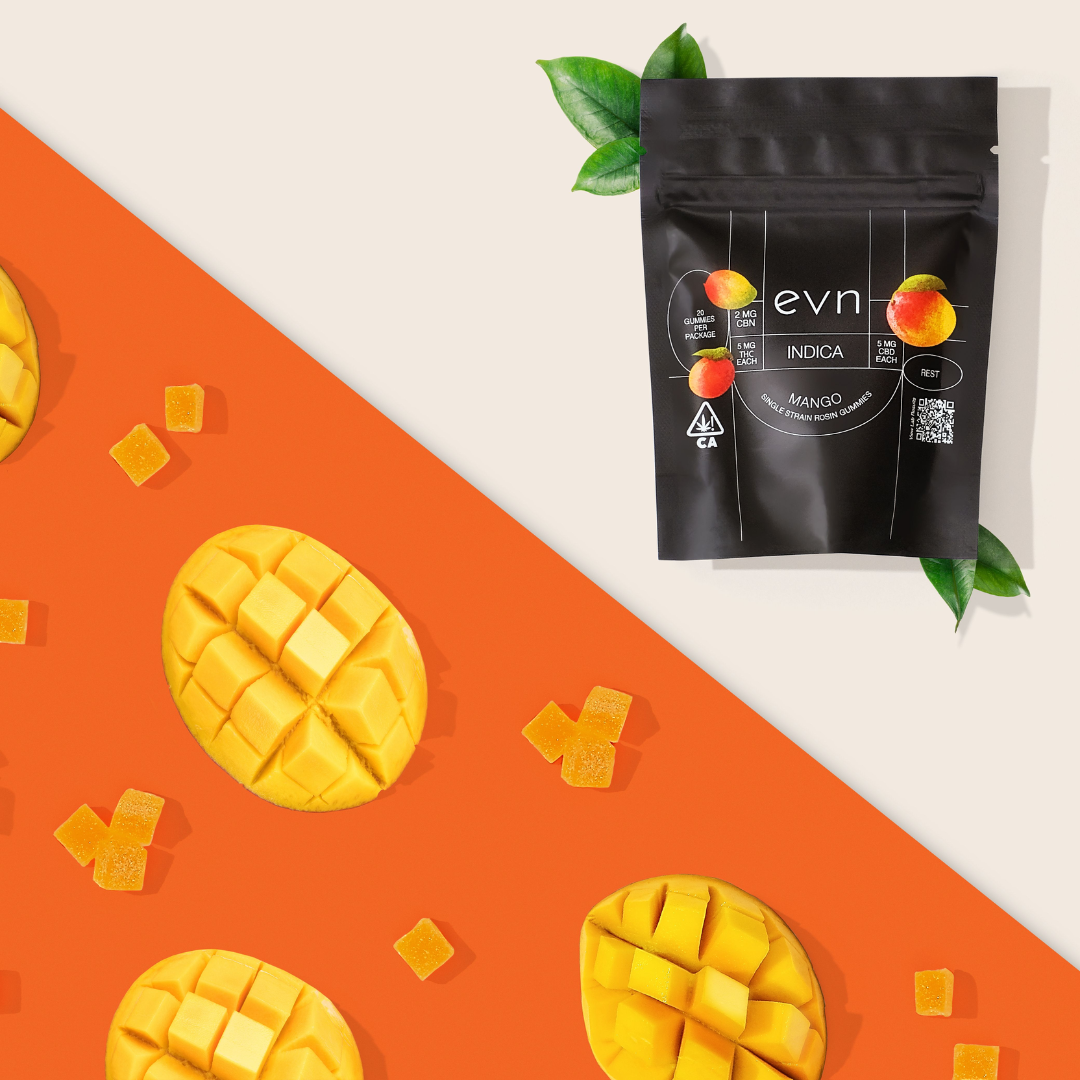
CBN + THC Gummies
Sale price$35.00
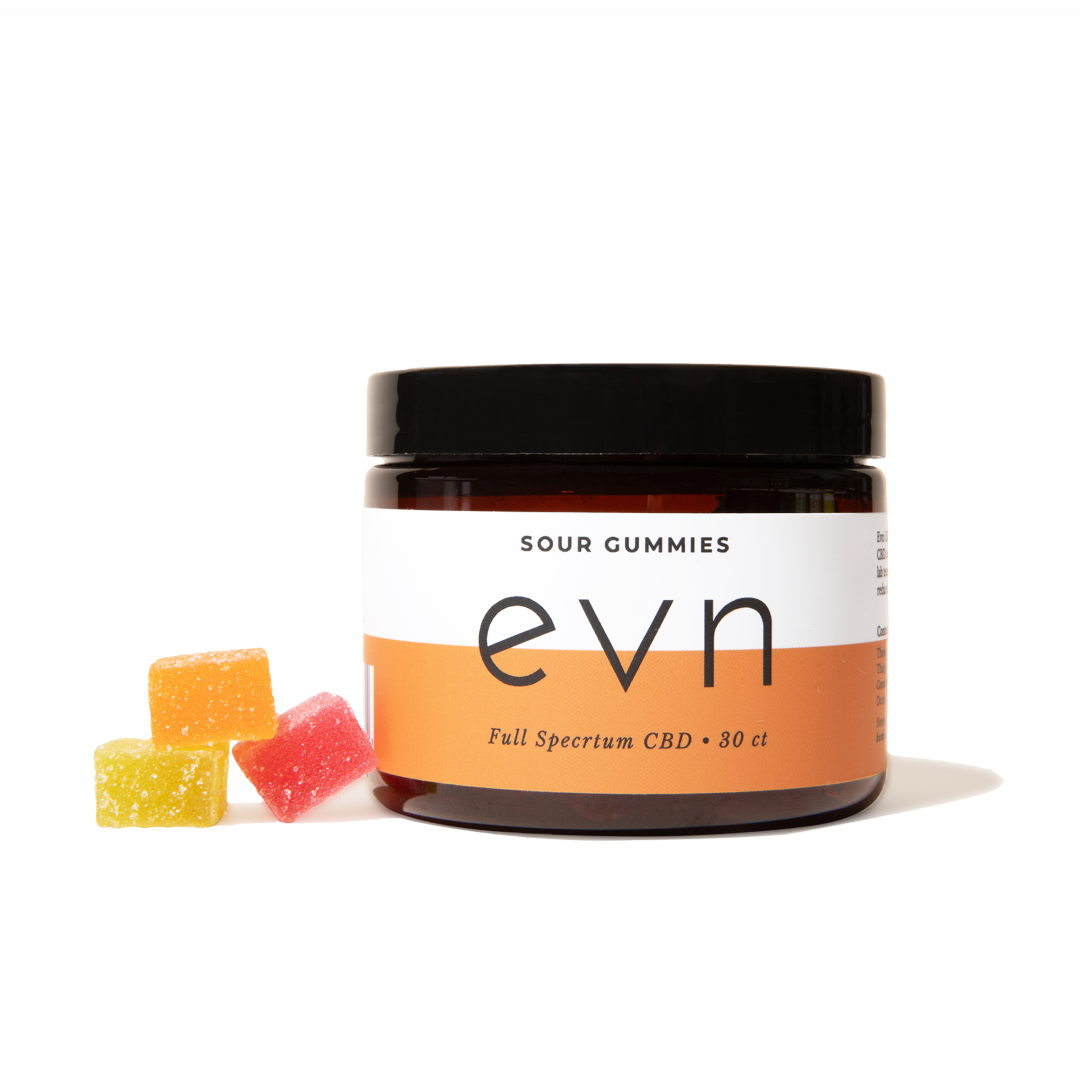
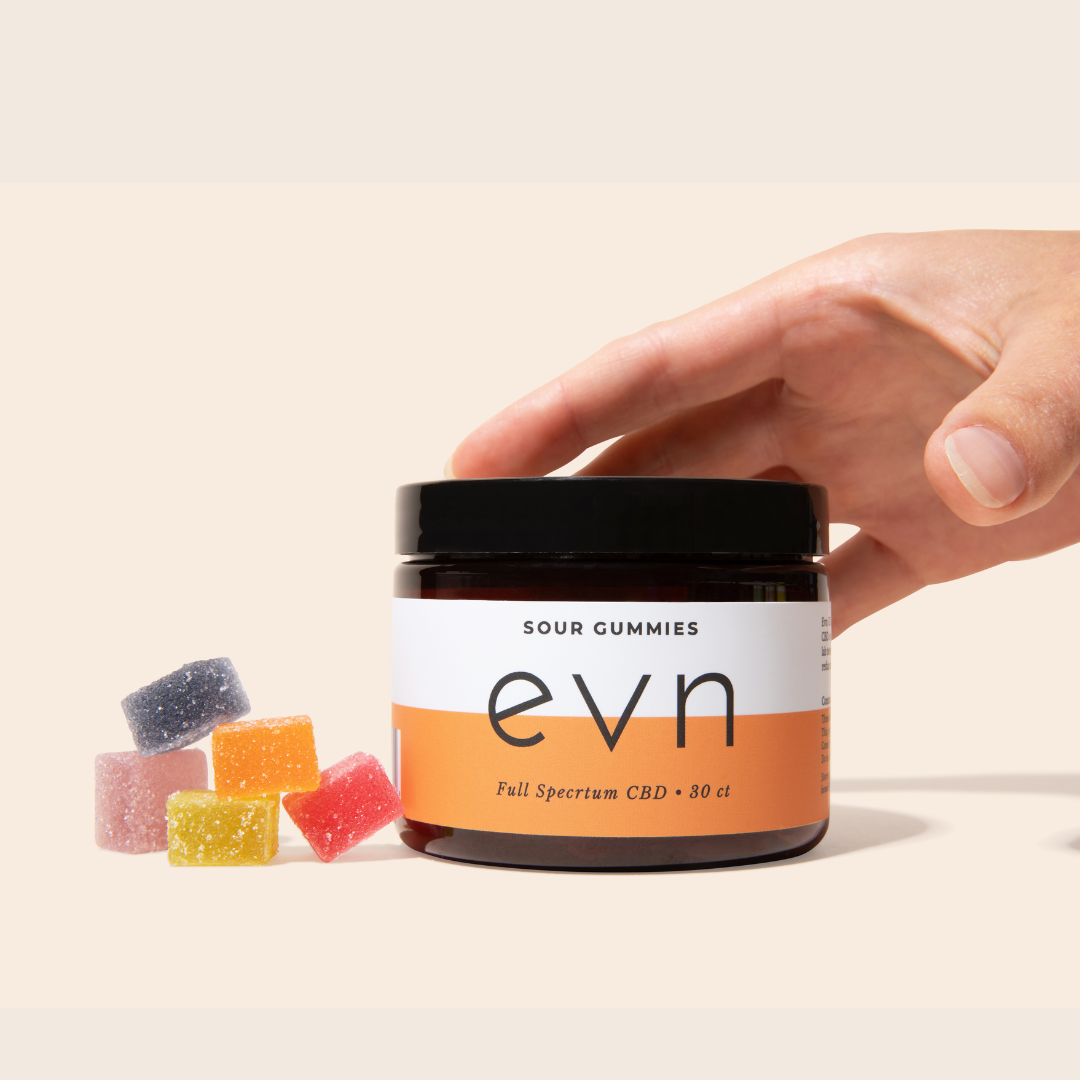
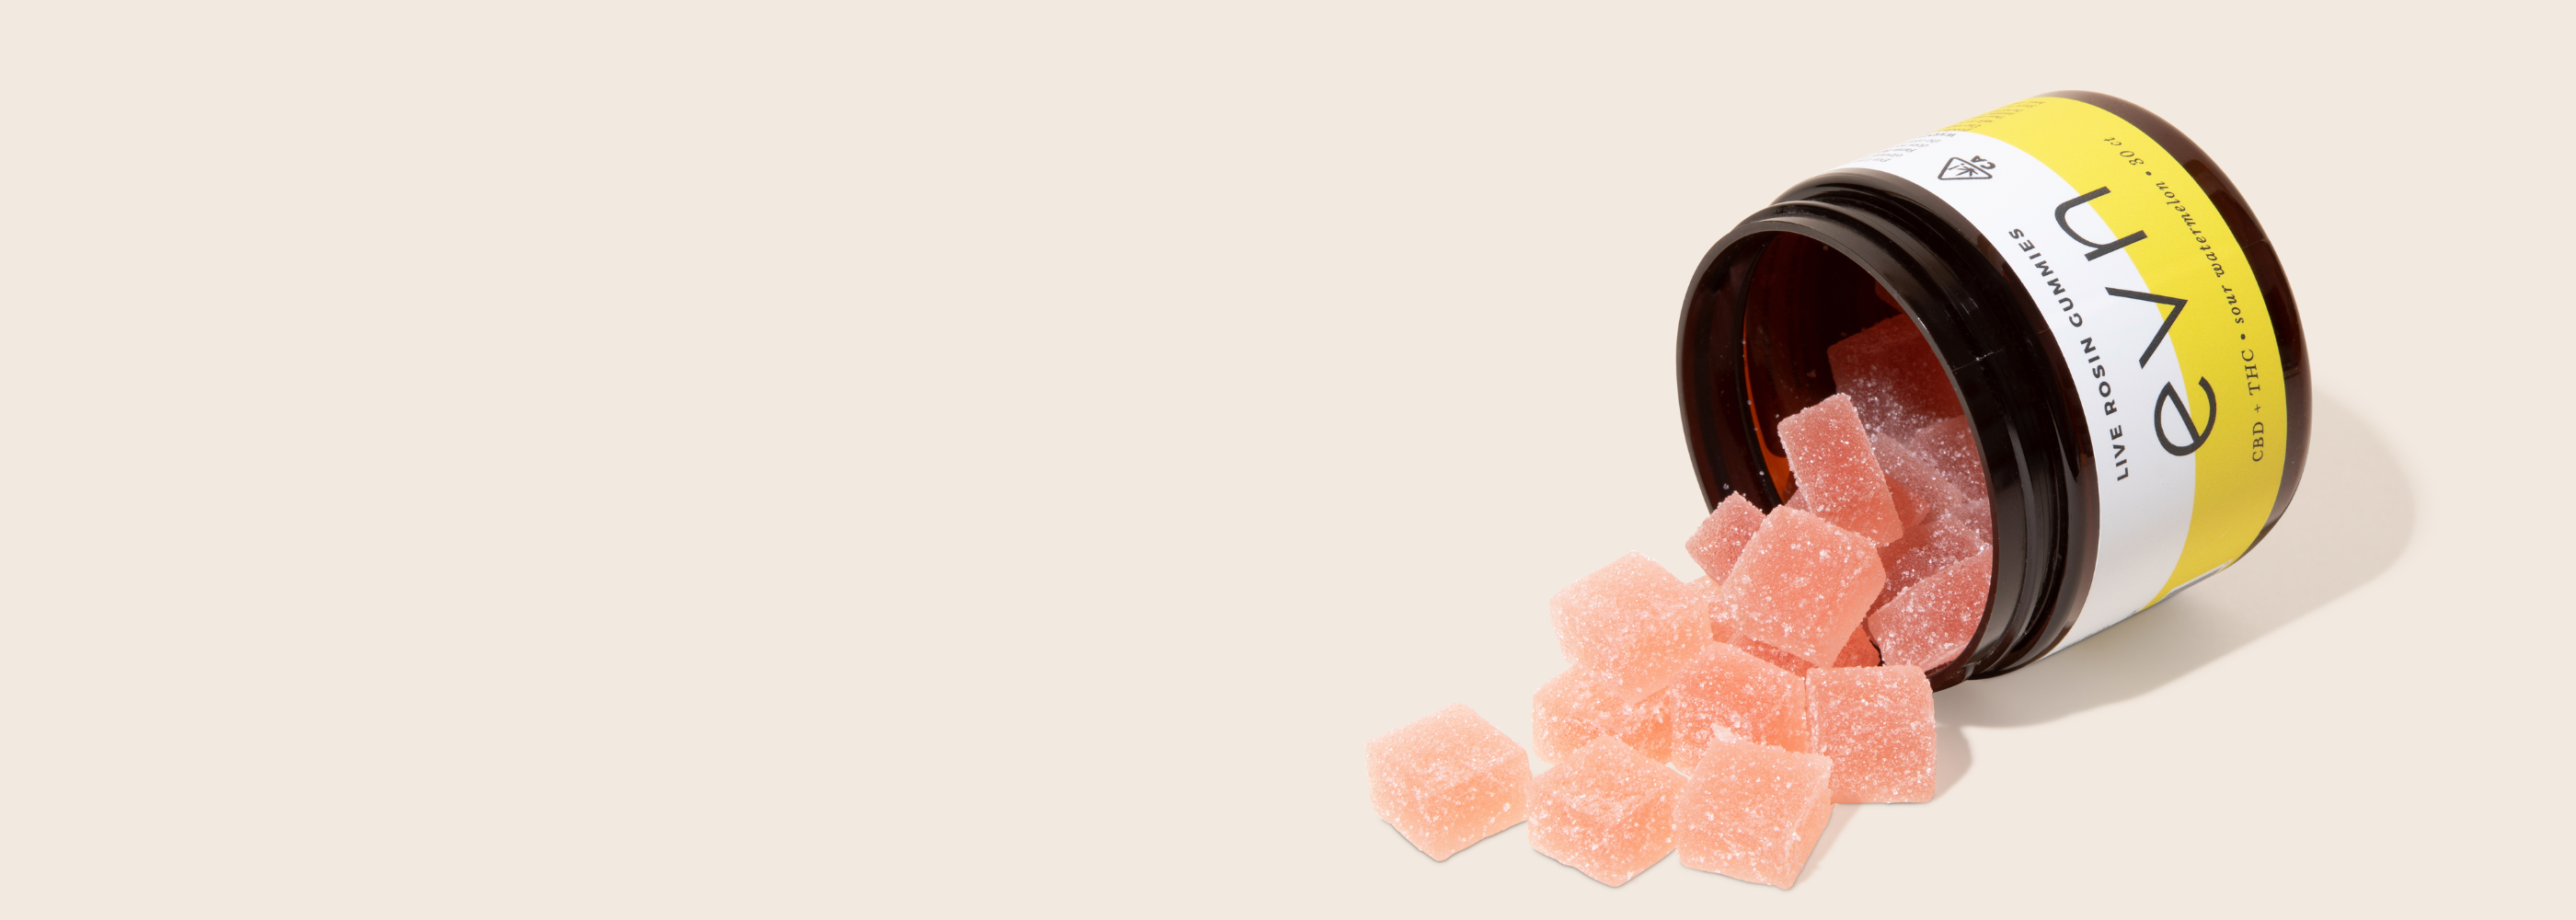
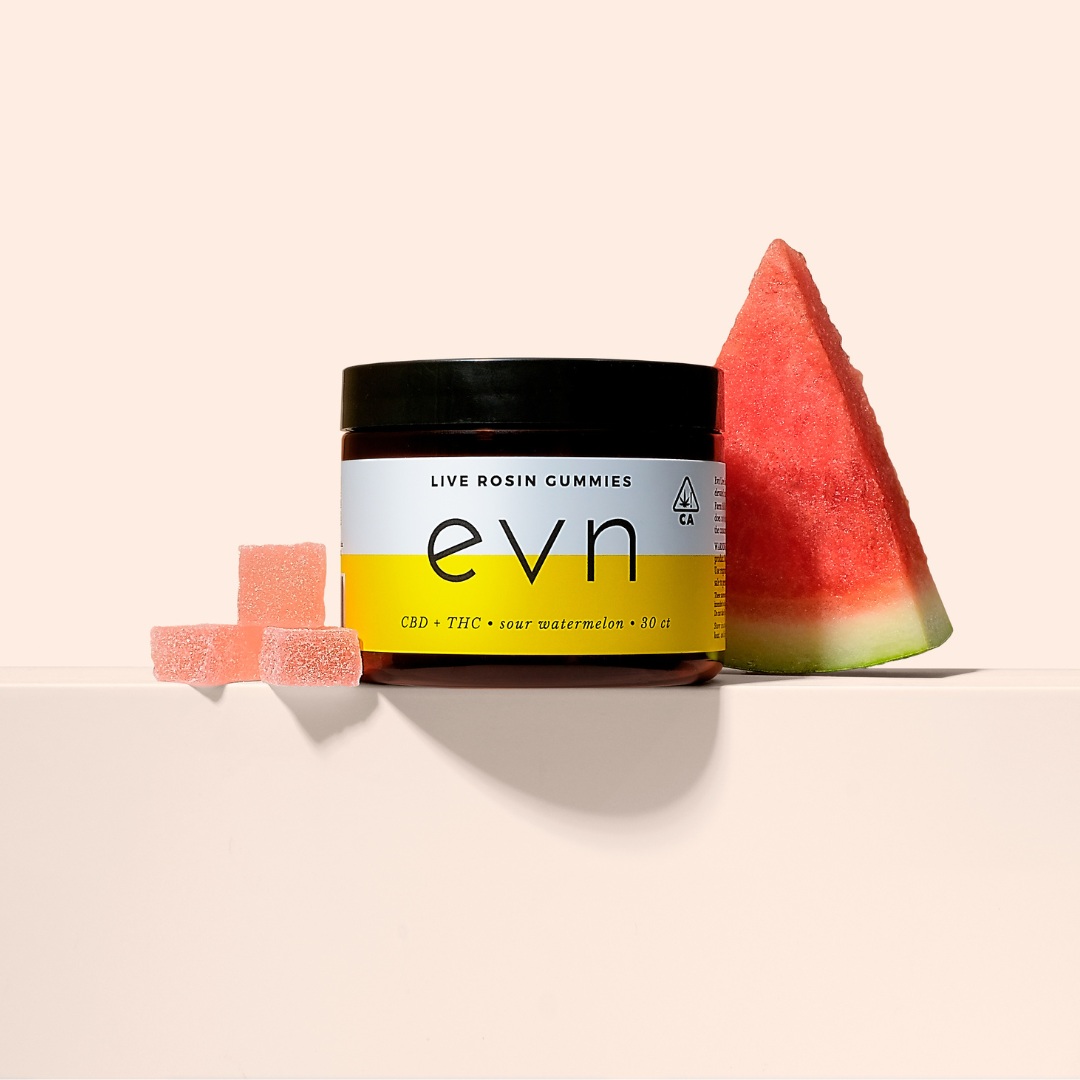
CBD Sour Gummies
Sale priceFrom $40.00
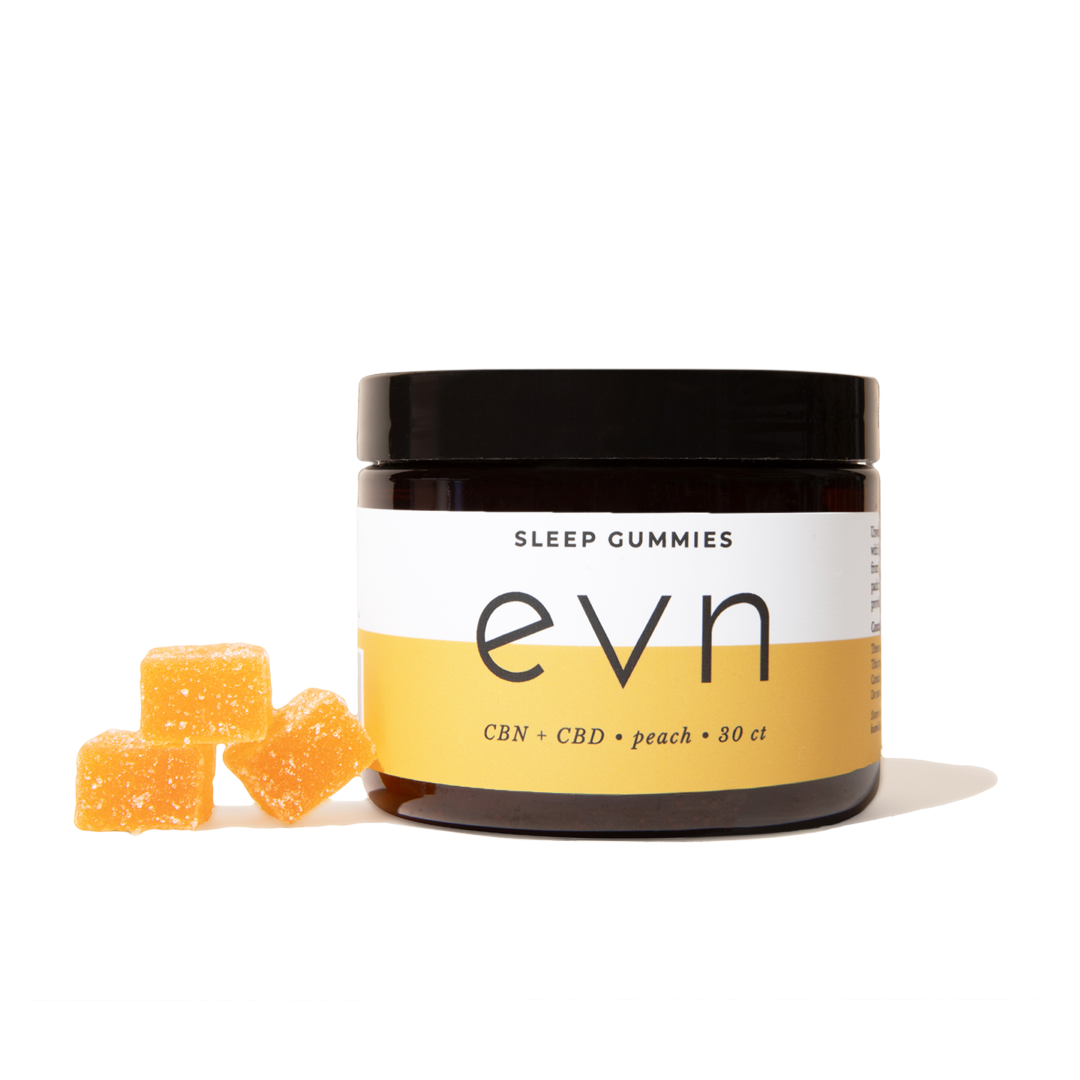
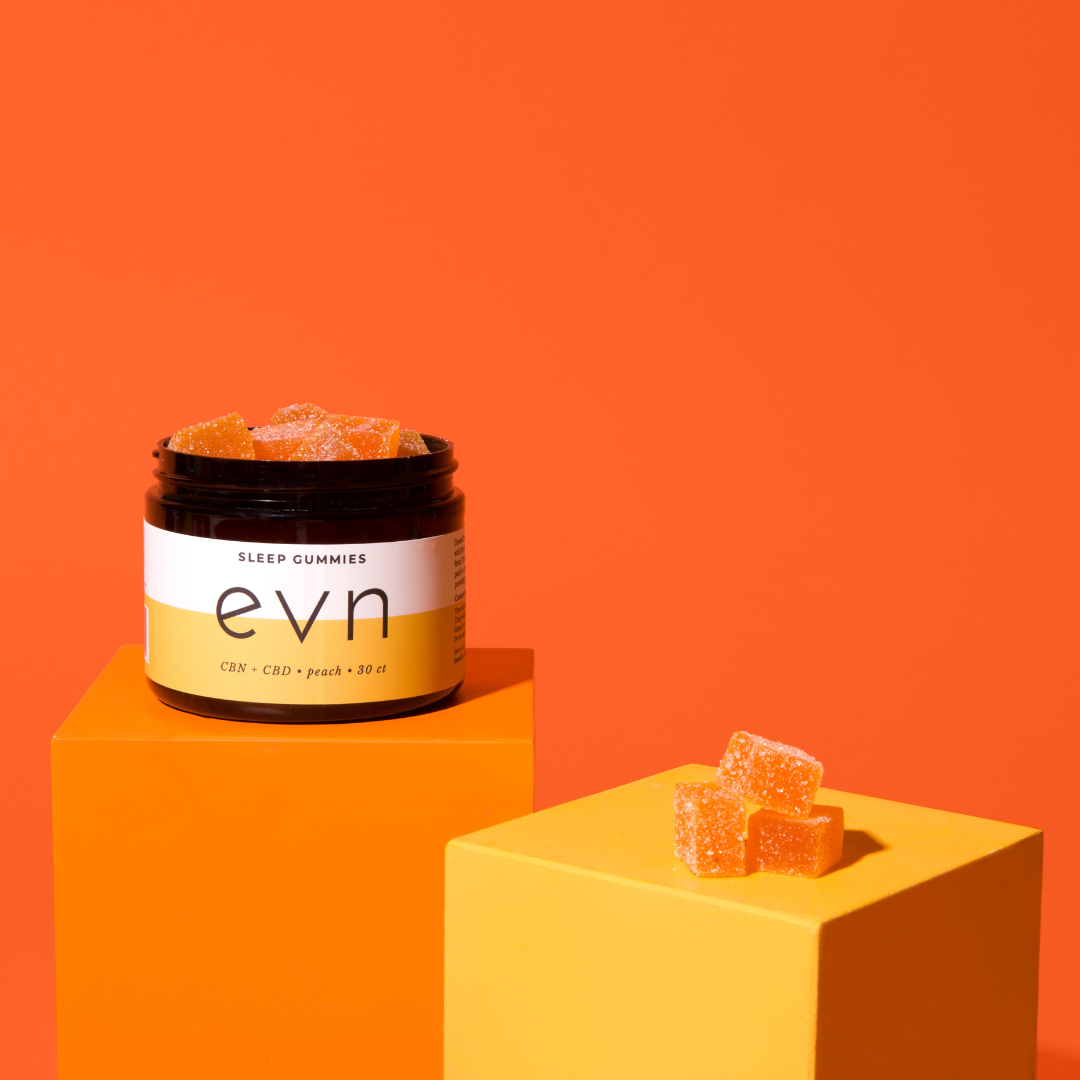
CBN Gummies
Sale price$45.00
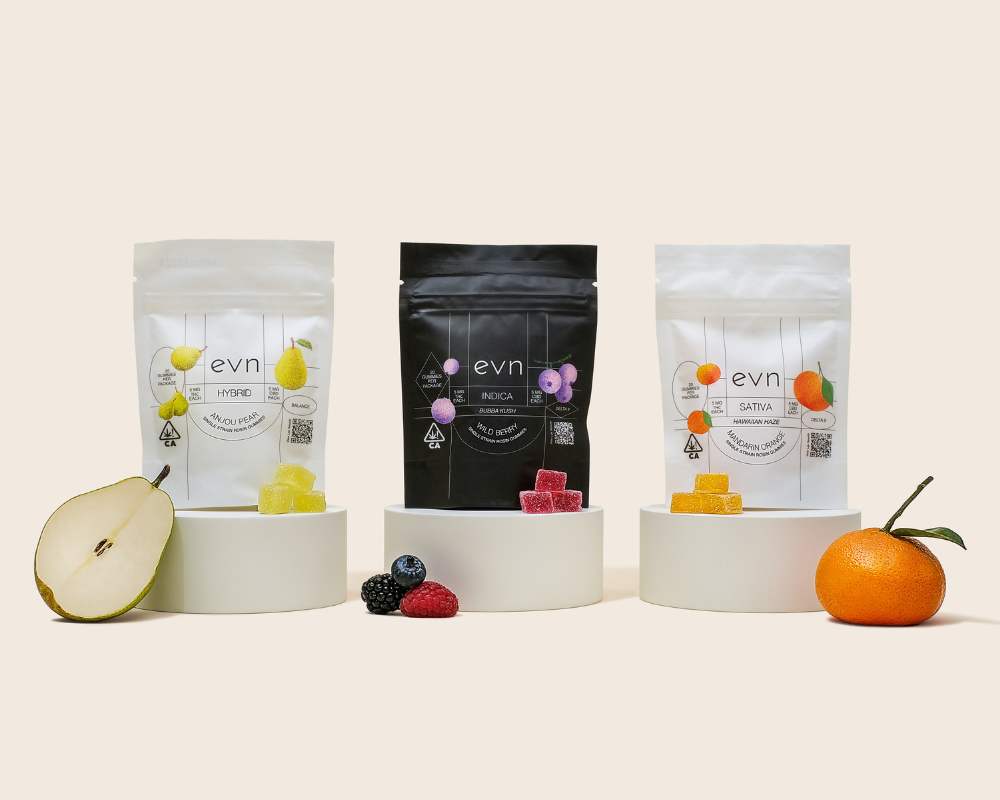
We Bring The Flavor... and The Calm
Our functional formulas were created to help you reach your goals; whether that is improving sleep, recovering from workouts faster, or elevating your relaxation .
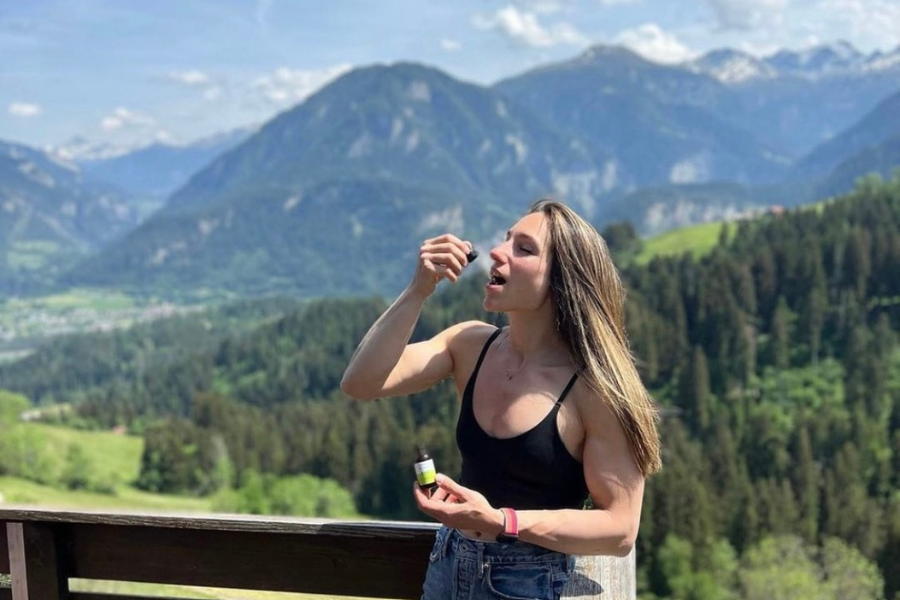
Trusted by World-Class Athletes
"Recovery is essential for becoming a better athlete and staying at the top of my game (especially as I get older). In my mind, there’s never one tip or trick. In reality, it’s a combination of a carefully curated routine, including Evn, that makes me a better athlete."
- Alex Puccio, 11x National Rock Climbing Champion

THOUGHTFULLY CRAFTED